Negative Cutting the 35mm film! Oh my!
- Bob Degus
- Mar 25, 2021
- 4 min read
I never expected to be editing real film again. But the journey to finish Awaken is occasionally full of surprises and we found ourselves needing to set up an old-school film editing room... I was at first excited about the romance of working with film again. That lasted about six hours and then I remembered how hard it is - PHYSICALLY and skill wise! Read on...

One of the biggest challenges has been dealing with the 35mm original negative and converting it to 4K digital scans. I expected this process to be ah… comprehensive and it has been significantly more than that. In January, Fotokem successfully (and on budget) completed scanning all the material that was originally in 9/Tenths.
The process of scanning the new material that is required to make 9/Tenths into Awaken, has been a massive and daunting undertaking. In January, we discovered that the 35mm lab rolls were in significantly worse shape than anticipated. These lab rolls needed to be repaired before they could be put through the scanning machine.
As is normal, when making 9/Tenths, the negative cutter at the time removed the sections needed to make 9/Tenths leaving “open” un-joined splices on the lab rolls. After all, what was left on the lab rolls were really outtakes never to be used again. Except in this rare instance.
After several discussions with Fotokem, we determined the best path forward was to use a solution we pioneered on Pleasantville, and build “scanning rolls” that contained only the material needed to make Awaken, with “handles” (six seconds on either side of what was actually needed). The issue however is that there is literally no one left who works with 35mm negative anymore, outside of Fotokem. It’s a lost art.
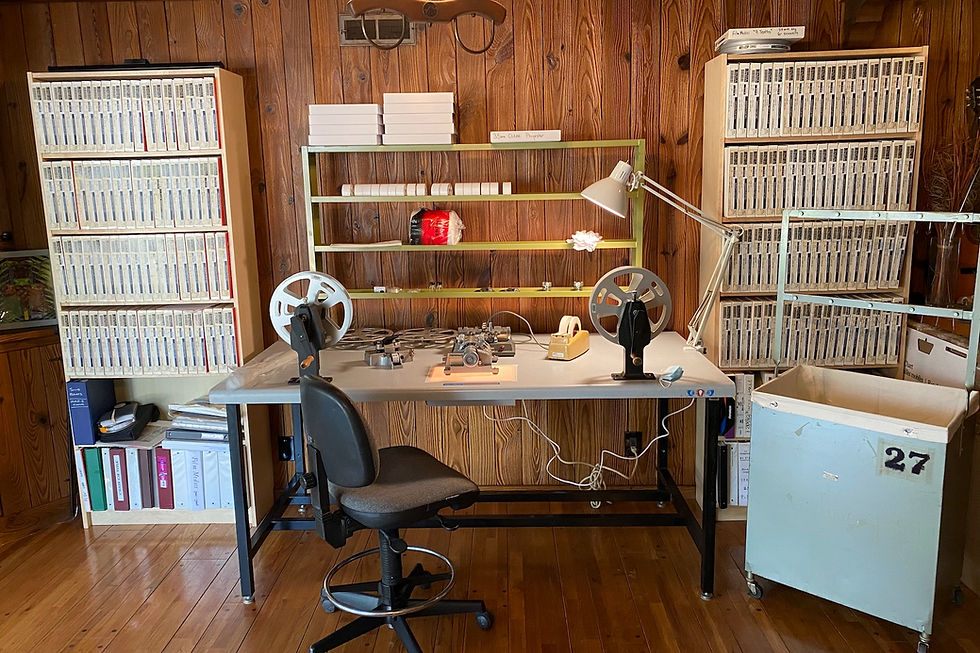
However, I know how to do it. So, we called the last company in Los Angeles that still rents 35mm film equipment and turned the living room here into an old school editing room for negative cutting.

The challenge with this method, is that it further damages the existing 35mm negative, each time part of a shot is removed. You lose a frame of film on each side (head and tail) of each shot removed. This meant that the “pull lists” that we made for Fotokem had to be revised to be certain that I was cutting EXACTLY what was needed. With the original method of Fotokem scanning from the lab rolls, if there had been a mistake when scanning, the only problem would be the cost to have them rescan what was needed.
In this version, because we were going to physically cut the negative for a second time, there could be no mistakes. This required adding a third check (in addition to the paper list) which was building a video reference of the shots that needed to be pulled.
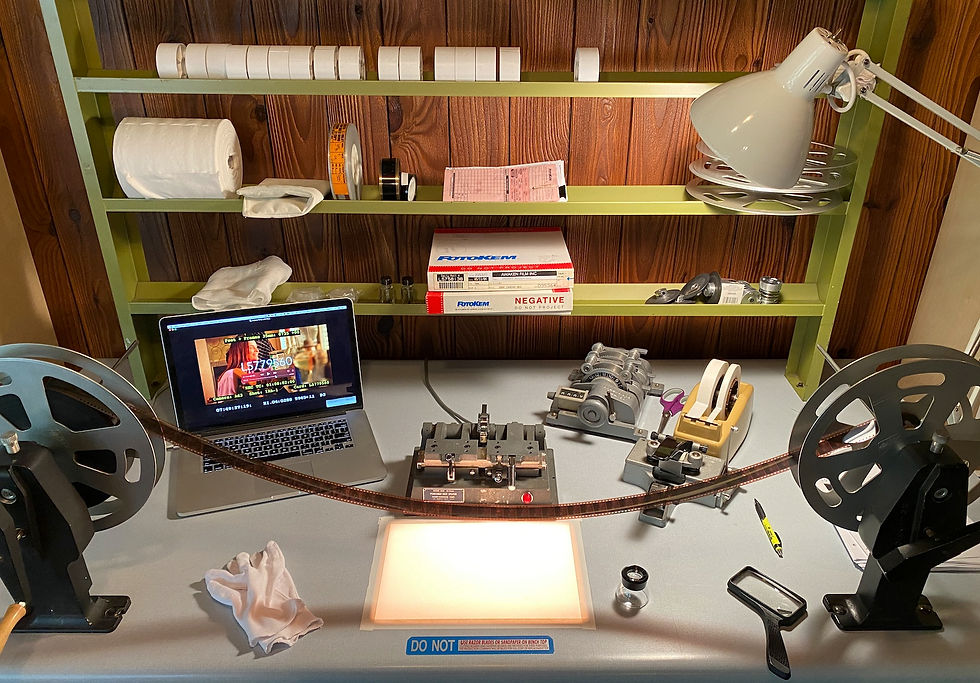
As you can see in the following image of Ian, at the lower right is a number KU 76 5808 +01. That number represents the exact location of that frame of video from shot 174A-1, on camera roll A196, on lab roll L5786141, on the 35mm negative.

Then, the process became about finding lab roll L5786141 and winding down the lab roll until I find, KU 76 5808 +01.

This would then tell me where I should cut the negative. I was initially dismayed (I had forgotten) that the edge numbers are backwards on the negative. So that took some adjustment to learn to quickly read in reverse.

Once the negative was cut, the part needed for Awaken would be “paper taped” to the scan roll for later cement splicing.
Once I pulled all the new material, building fourteen 1200-foot scan rolls, the process of cement splicing, (or gluing) the frames together was next. This is truly a lost art. The film for each splice needs to be scraped and the emulsion (the image) needs to be removed, and the base (what holds the image) needs to be scored so that it is thinner than normal – to allow space for the glue. If you don’t remove enough of either, the splice will break, if you remove too much the splice will be fragile. Then, the cement is applied. Again, too little glue and it won’t hold – too much glue and it makes a mess on the adjoining frames.

Each splice then needs to dry in the hot splicer for a minute to set. There were over 600 splices to be made to build these scan rolls.
After all the splicing was done, then the rolls needed to be inspected to ensure that they were physically strong enough to undergo the scanning machinery.
This step involved winding each roll through a synchronizer which both measures the film length, ensures that the frame-lines are correct and reveals any bad splices, which needed to be repaired.

All in all, this added a delay of about six weeks into our post production schedule, but it also saved tens of thousands of dollars we'd have otherwise spent.
At some point we'll have a video of this negative pulling process for you to see - as it's quite a rare thing these days so we decided to document it.
Comments